How to Install Joomla 5 on Shared Hosting : 11 Steps [2026]
A clean Joomla 5 install on standard shared hosting, including the PHP limits and database privileges that cause most failed installations.

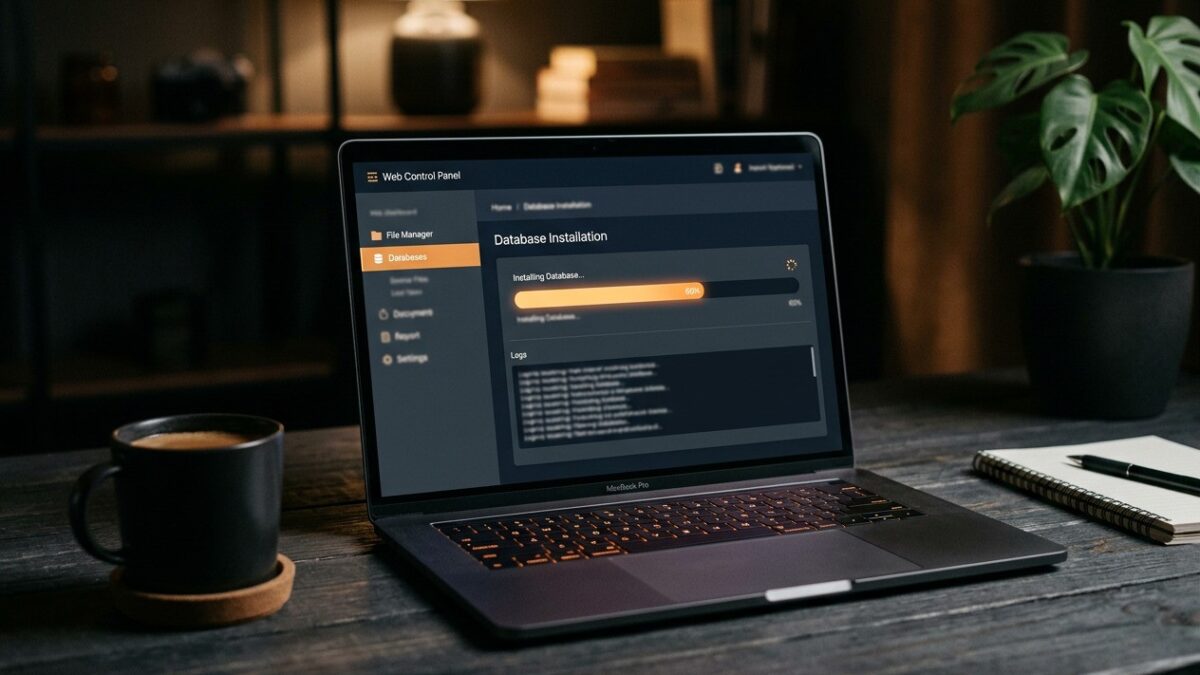
Installing Joomla on shared hosting is not difficult, but almost every guide you will find was written for Joomla 3 and skips the two steps that actually cause failures in 2026: the PHP configuration your host ships by default, and the database privileges your control panel grants a new user. This guide covers a clean Joomla 5 installation end to end, on standard shared hosting, with no SSH access assumed.
Joomla 6 is now the current major line — it was released in October 2025 — and a brand-new site should normally be installed as Joomla 6. Joomla 6 requires PHP 8.3 as a hard minimum, with 8.4 recommended, so check that first with your host. This guide covers a Joomla 5 installation, which remains valid for anyone deliberately deploying on the 5.x line: 5.x is still supported, with feature support running to October 2026 and security fixes beyond that. The procedure below is materially the same on Joomla 6 apart from the PHP floor.
What you need before you start
Joomla 5 has firmer requirements than Joomla 3 did, and shared hosting defaults have not always kept pace. Check all four of these in your control panel before downloading anything — discovering a shortfall halfway through the web installer wastes more time than checking up front.
| Requirement | Minimum | Recommended | Where to check |
|---|---|---|---|
| PHP (Joomla 6) | 8.3 | 8.4 | cPanel → MultiPHP Manager, or Plesk → PHP Settings |
| PHP (Joomla 5) | 8.1 | 8.2 or 8.3 | As above |
| MySQL | 8.0.13 | 8.4 | cPanel → MySQL Databases |
| MariaDB (alternative) | 10.6 | 12.0 | As above |
| Free disk space | 250 MB | 1 GB+ | Control panel dashboard |
You also need these PHP extensions enabled: mysqli or pdo_mysql, json, zip, gd or imagick, mbstring, curl, xml and zlib. Most shared hosts enable all of these by default, but zip and imagick are the two that are occasionally missing.
If this domain currently hosts a working site, take a full backup of both files and database before you begin — and confirm you can restore it. An installation into a non-empty directory can overwrite files you needed.
Step 1: Set the PHP version and limits
Select PHP 8.2 for the domain
In cPanel, open MultiPHP Manager, tick the domain, choose PHP 8.2 from the dropdown and apply. In Plesk it is under Websites & Domains → PHP Settings.
Joomla 5 runs on 8.1 through 8.3. Choose 8.2 unless your host offers 8.3 and you have no legacy extensions to worry about — 8.2 has the broadest third-party extension compatibility right now. If you are installing Joomla 6 instead, select 8.3 at minimum and prefer 8.4, and the rest of this step is unchanged.
Then raise the four limits that matter, via MultiPHP INI Editor (or a .user.ini file in your web root if your host does not offer the editor):
memory_limit = 256M
upload_max_filesize = 64M
post_max_size = 64M
max_execution_time = 120
The defaults on budget shared plans are frequently memory_limit = 128M and max_execution_time = 30. Both are survivable for the install itself and both will bite you later, during an extension install or an update.
Step 2: Create the database and user
Create the database, then the user, then grant privileges
In cPanel, go to MySQL Databases. Create a database — the panel will prefix it with your account name, so joomla becomes something like myaccount_joomla. Note the full name.
Create a user in the same screen, with a generated password. Note the full username, which is prefixed too.
Then — and this is the step people skip — scroll to Add User To Database, pair the two, and on the privileges screen tick ALL PRIVILEGES.
Joomla’s installer needs CREATE, ALTER, INDEX and DROP in addition to the obvious SELECT/INSERT/UPDATE/DELETE. A user granted only the latter four will get through part of the installation and then fail while building indexes, leaving a half-populated database. If you prefer least privilege, grant everything for the install and revoke DROP afterwards — but remember to restore it before a major version upgrade.
Step 3: Upload Joomla
Upload the archive and extract it on the server
Download the current Joomla 5 full package from the project’s downloads page. You want the Full Package ZIP, not the update package — the update package is for upgrading an existing installation and does not contain the installer.
In your control panel’s File Manager, navigate to the document root for the domain — usually public_html for a primary domain, or public_html/subfolder for an addon domain. Upload the ZIP there and use the panel’s Extract function.
Extract on the server. Do not unzip locally and upload the ~7,000 loose files over FTP: it takes hours instead of seconds, and interrupted transfers leave silently truncated files that produce baffling errors later.
Step 4: Run the web installer
Three screens, then delete nothing
Visit your domain in a browser. Joomla 5’s installer is three screens:
- Site name and language. The name is changeable later in Global Configuration, so do not agonise.
- Administrator account. Use a real email address you control — this is the password reset route. Do not use
adminas the username; automated login attempts try it first, every time. - Database. Host is almost always
localhoston shared hosting. Enter the full prefixed database name and username from step 2. Leave the table prefix as the random value Joomla generates.
Joomla 3 required you to manually delete the installation directory afterwards. Joomla 4 and 5 remove it automatically at the end of the process. If it is still present after installation completes, the removal failed on a permissions error — delete it by hand before doing anything else, because it is a live security exposure.
Step 5: First-run configuration
Six settings to change immediately
Log in at /administrator and go to System → Global Configuration:
- Site → Search Engine Friendly URLs: Yes.
- Site → Use URL Rewriting: Yes — then rename
htaccess.txtto.htaccessin your web root. Enabling rewriting without that rename produces a site where the homepage works and every other page 404s. - Site → Force HTTPS: Entire Site, once your certificate is active.
- Server → Error Reporting: None on production.
- Server → Gzip Page Compression: Yes.
- System → Session Lifetime: 30 minutes is a reasonable default; the stock 15 is irritating.
Step 6: Verify the installation
Check the four things that commonly fail silently
Go to System → System Information and check the PHP Information and Directory Permissions tabs. Every directory listed should read Writable. Anything marked Unwritable will cause an obscure failure later — usually during an extension install, weeks after you have forgotten this step.
Then confirm, in order: the frontend loads at a non-homepage URL (proves rewriting works); you can log in to the administrator; System → Update → Joomla reports a version and does not error (proves outbound HTTPS works); and a test image upload in Media succeeds (proves permissions and PHP limits are right).
Common installation problems
| Symptom | Cause | Fix |
|---|---|---|
| Blank white page during install | memory_limit too low |
Raise to 256M, reload the installer |
| “Could not connect to the database” | Unprefixed database name or username | Use the full prefixed values from cPanel |
| Install stalls building tables | User lacks CREATE/ALTER/INDEX | Grant ALL PRIVILEGES, drop the database, reinstall clean |
| Homepage works, other pages 404 | Rewriting on, .htaccess not renamed |
Rename htaccess.txt to .htaccess |
| Install times out at 30s | max_execution_time |
Raise to 120, restart the installer |
| Cannot upload media after install | Directory permissions | Set directories to 755, files to 644 |
What to do next
Before you install a template or a single extension, do these three things. They take ten minutes now and save days later.
- Install a backup extension and take a baseline backup. A clean installation is the easiest thing in the world to restore to.
- Enable two-factor authentication on the administrator account, under Users → Manage → your account → Multi-factor Authentication.
- Subscribe to the Joomla security announcements feed, so you learn about advisories from the project rather than from your host’s abuse desk.
A default Joomla installation is reasonably secure. It stops being secure the moment it falls behind on updates. If you are not going to keep it patched, do not put it on the internet — an unmaintained Joomla site is compromised eventually, without exception.
Choosing where to install: root, subfolder or subdomain
This decision is difficult to reverse cleanly, so it is worth two minutes now.
Document root (public_html) is right for the great majority of sites. The site answers at example.com, there is no path prefix in any URL, and nothing needs special handling later.
A subfolder (public_html/blog) puts the site at example.com/blog. This is a legitimate choice when Joomla is one section of a larger site, but it has consequences: the SEO value of the domain is split across whatever else lives at the root, and every guide you read afterwards assumes root installation and will need mental translation. Do it deliberately or not at all.
A subdomain (blog.example.com) is the right answer for a staging copy. Create the subdomain in your control panel first, note the document root it generates, and install there. Then — and this matters — block it from search engines, either in Global Configuration → Site → Search Engine Robots or with a robots.txt disallow. A staging site that gets indexed will compete with production for its own content.
Understanding what the installer actually created
Knowing the layout makes every later problem easier to diagnose. A Joomla 5 installation has these directories in the web root:
| Path | Contains | Do you edit it? |
|---|---|---|
/administrator |
The admin application | No |
/api |
The web services application | No |
/cache, /tmp |
Transient files | Safe to empty |
/components, /modules, /plugins |
Core and third-party extensions | No — use overrides |
/images |
Media manager uploads | Yes, via the admin |
/language |
Language packs | No — use overrides |
/libraries |
The Joomla framework | Never |
/media |
Extension front-end assets | No |
/templates |
Site templates | Yes, in a child or override |
configuration.php |
Database credentials and settings | Rarely, carefully |
Never edit a core file. Not in /libraries, not in /components, not in the template you installed. Every core edit is silently reverted by the next update, and you will not remember what you changed. Joomla has a complete template and layout override system precisely so you never have to — see our guide to template overrides.
Permissions: what the numbers mean and what to set
“Set permissions to 755” is repeated everywhere without explanation, which is why people paste 777 when something does not work and leave it there.
Each digit is one role: owner, group, everyone else. Read is 4, write is 2, execute is 1, and you add them together. So 755 is owner read+write+execute (7), group read+execute (5), others read+execute (5). For a directory, “execute” means the ability to list and traverse it.
| Target | Set to | Reason |
|---|---|---|
| Directories | 755 | Web server must traverse; only the owner writes |
| Files | 644 | Web server reads; only the owner writes |
configuration.php |
444 or 400 | Read-only — it holds your database password |
| Anything | Never 777 | World-writable means any compromised script on the server can rewrite your site |
If an upload fails at 755, the problem is almost never the permission mode — it is that the files are owned by the wrong user, typically because you uploaded over FTP under one account while PHP runs as another. Your host fixes ownership in seconds; loosening permissions to work around it converts a support ticket into a security incident.
A realistic first-hour checklist
Everything above, condensed into the order a working site owner actually does it:
- Set PHP 8.2 and raise the four limits.
- Create the database, create the user, grant ALL PRIVILEGES.
- Upload the Full Package ZIP to the document root and extract it server-side.
- Run the three installer screens; confirm
installationis gone afterwards. - Rename
htaccess.txtto.htaccess. - Global Configuration: SEF URLs on, URL rewriting on, error reporting off, Gzip on.
- Force HTTPS once the certificate is live.
- Check Directory Permissions in System Information — all writable.
- Enable multi-factor authentication on the admin account.
- Install a backup extension and take a baseline backup.
- Run System → Update → Joomla and apply anything pending.
Sample: a working configuration.php
For reference, these are the values that matter in a correctly configured production installation. Yours will differ in the credentials and the secret, which are generated per site.
public $sef = '1';
public $sef_rewrite = '1';
public $sef_suffix = '0';
public $force_ssl = '2';
public $error_reporting = 'none';
public $gzip = '1';
public $caching = '1';
public $cachetime = '15';
public $lifetime = '30';
public $log_path = '/home/account/logs';
public $tmp_path = '/home/account/public_html/tmp';
force_ssl = '2' is entire-site HTTPS; '1' is administrator only. Setting it to 2 before your certificate is issued will lock you out of your own site, so do this step in the right order.
Frequently asked questions
Can I install Joomla 5 on PHP 8.0?
No. Joomla 5 requires PHP 8.1 as a hard minimum and the installer will refuse to proceed on 8.0. If your host cannot offer 8.1 or newer, change hosts — PHP 8.0 has been end-of-life since November 2023 and is not receiving security fixes.
Should I install Joomla 5 or Joomla 6?
There is no next major version to wait for — Joomla 6 shipped in October 2025 and is the current line. For a new site, install 6 unless you have a specific extension-compatibility reason to stay on 5.x, and check that your host offers PHP 8.3 or 8.4 before you commit. Joomla 5 remains a supported choice in the meantime, with feature support to October 2026 and security fixes for a year after that. What you should not do is start a new site on Joomla 3: that line has been unsupported since August 2023, and choosing it means owing yourself a migration on day one.
Do I need the “installation” folder for anything later?
No. It exists only to run the web installer and is removed automatically once installation completes. If it survives, delete it.
Can I move the site to a different domain afterwards?
Yes. Joomla stores relatively few absolute URLs, so moving usually means copying the files, restoring the database, and updating the credentials in configuration.php. Search the content for hardcoded absolute links afterwards.
Why does the installer generate a random table prefix?
Because a predictable prefix makes blind SQL injection marginally easier to exploit. It is a small hardening measure, not a substitute for patching, and there is no reason to override it.
Is shared hosting good enough for a production Joomla site?
For a brochure site, a small publisher or a club, yes — provided the host offers current PHP, a reasonable memory limit and daily backups. Where shared hosting stops being adequate is under sustained traffic, or when you need control over caching layers and PHP workers. The usual failure mode is not the CMS, it is a 128M memory limit and a hard 30-second execution cap.
My host offers a one-click Joomla installer. Should I use it?
It will work, but it frequently installs an older Joomla version, sets a predictable table prefix, and leaves you unclear about what was configured. Doing it manually once teaches you the layout you will be debugging for the next several years. Ten minutes well spent.
How do I install Joomla on a subdomain for testing?
Create the subdomain in your control panel, note the document root it generates, and follow this guide against that path with a separate database. Then block it from indexing — Global Configuration → Site → Search Engine Robots set to “No index, no follow” — so your staging copy never competes with production in search results.