Physical Address
304 North Cardinal St.
Dorchester Center, MA 02124
Physical Address
304 North Cardinal St.
Dorchester Center, MA 02124

joomla user management is the backbone of any Joomla site that wants to keep its content organized and its community safe. When we control who can see, edit, or publish, we prevent chaos and protect valuable data. A well‑crafted user strategy also improves visitor experience, turning casual browsers into trusted contributors. In this guide we walk through every layer of Joomla’s permission architecture, from basic groups to advanced authentication.

Joomla treats users like pieces on a chessboard, each with a specific role and set of moves. Unlike a simple list, the system links users to groups, then to access levels, creating a layered defense. This design lets us grant or deny actions without editing every individual account, saving time and reducing errors.
Another key point is the separation of frontend and backend privileges. A visitor may read articles, while an editor can modify them, and a manager can adjust site settings. The contrast between public visibility and private administration is clear and predictable.
Finally, Joomla’s built‑in ACL (Access Control List) offers granular control over components, categories, and even single articles. By combining groups, permissions, and access levels, we achieve a flexible yet secure environment.
Think of Joomla’s user system as a three‑legged stool: users sit on the seat, groups form the legs, and access levels act as the cushion. If any leg is missing, the stool wobbles; if the cushion is too thin, comfort suffers. Together they provide stability and comfort for site administrators.
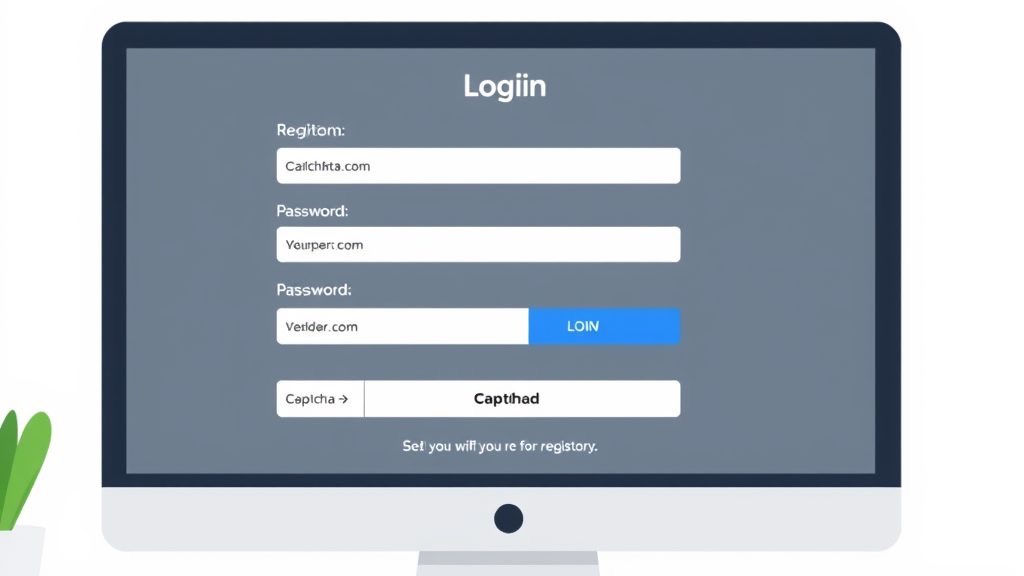
Users are the individuals who log in through the login module, using authentication methods like password, captcha, or multi‑factor authentication. Groups collect users into logical categories such as author or manager, simplifying permission assignment. Access levels define what content a group can view, ranging from public to special.
Because each pillar interacts with the others, changing a group’s permissions instantly affects every member. This interdependence is a powerful tool for scaling sites, from a small blog to a large corporate portal.
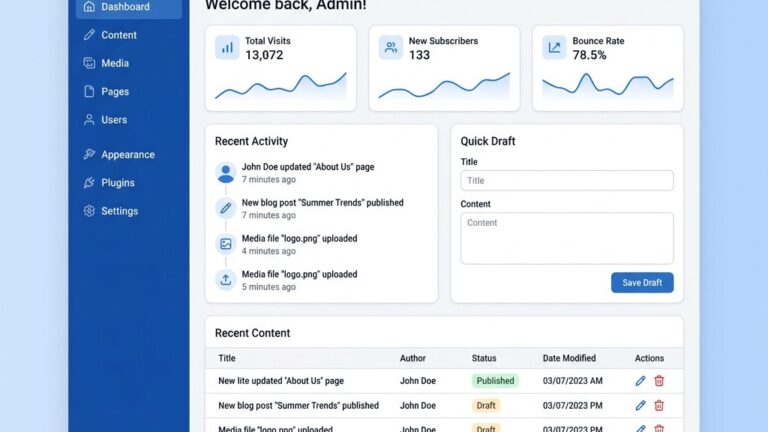
All user‑related configuration lives under the Users menu in the backend. The User Manager lists every account, while the Groups page shows the hierarchy of roles. Access Levels are edited from the Access Levels submenu, where we can create new levels or modify existing ones.
Global Configuration also contains a User Options tab, where we set default registration behavior, email activation, and captcha requirements. These settings affect both the frontend registration module and the backend user creation process.
For quick tweaks, the toolbar offers shortcuts to add new users, edit groups, or view the user actions log. The log records login attempts, password changes, and other critical actions, helping us audit security.
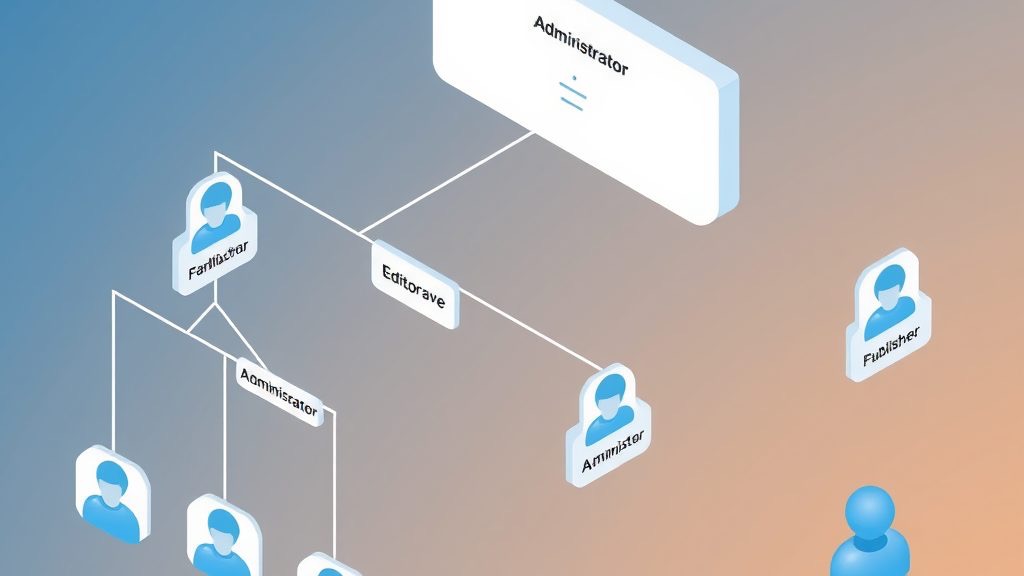
Joomla ships with a set of default groups that form a clear hierarchy. At the top sits Super Administrator, followed by Administrator, Manager, and then the frontend groups: Publisher, Editor, Author, Registered, and Guest. Each lower group inherits permissions from the ones above it.
The hierarchy works like a family tree: a child inherits traits from its parents, while also having its own unique characteristics. For example, a Publisher can create and edit content, just like an Editor, but also has the ability to change publishing status.
Understanding this structure is essential when we assign component permissions, because a higher‑level group can override settings for lower groups if we are not careful.
Frontend groups control what visitors can do after they log in through the login module. Registered users can view content marked as “Registered” and edit their own profile. Authors can write new articles but cannot publish them without review.
Editors have the power to edit any article within their assigned categories, while Publishers can change the publishing state and make articles live. This progression from author to publisher mirrors a career ladder, encouraging contributors to grow.
Each group can be assigned a specific viewing access level, such as “Special,” to restrict premium content to trusted members only.
Backend groups manage the site’s interior, from menus to extensions. Managers can edit most content and configure modules, but they cannot change global configuration settings. Administrators have broader rights, including installing extensions and modifying site settings.
Super Administrators sit at the summit, with unrestricted access to every component, plugin, and configuration file. This role should be limited to trusted personnel, as it bypasses all other checks.
Because backend access is powerful, we often pair these groups with strong authentication, such as multi‑factor authentication or WebAuthn, to protect against unauthorized entry.
When the default groups do not fit a project, we can create custom groups in the User Manager. This process is simple: click “New,” name the group, and place it under an existing parent group to inherit permissions.
Custom groups are useful for niche roles like “Event Coordinator” or “Support Agent,” where we need a tailored set of component permissions. By assigning these groups to a specific access level, we control exactly which articles or categories they can see.
After creating a group, we must adjust its permissions in the ACL settings, otherwise it will inherit the parent’s defaults, which may be too permissive or restrictive.
If you are new to Joomla’s backend interface, our guide on the Joomla admin panel covers every section of the dashboard in detail. For those setting up a site for the first time, our walkthrough on how to create a Joomla website from scratch provides a solid starting point. You may also want to review our article on Joomla security tips to pair proper user management with strong site protection, and our Joomla articles and categories guide to understand how content permissions connect to the category tree.

The ACL is a matrix that maps user groups to actions across the site. Each row represents a group, and each column represents a permission such as “Create,” “Edit,” or “Delete.” By toggling the checkboxes, we grant or deny specific actions.
This system works like a traffic light: green means allowed, red means blocked, and amber indicates inherited permission. The tricolon of “Create, Edit, Delete” covers most content operations, giving us a clear view of what each group can do.
Because the ACL applies at multiple levels—global, component, category, and article—we can fine‑tune access without creating endless custom groups.
Global Configuration permissions affect the entire site, such as the ability to manage users or install extensions. Component permissions are more focused, controlling actions within a specific extension like com_content or com_k2.
For example, a Manager may have global permission to edit articles but not to change site settings, while an Administrator could have both. This contrast ensures that we do not give unnecessary power to users who only need to work on content.
When setting up a new component, always review its permission matrix to align it with our group hierarchy and access levels.
Joomla allows us to override permissions at the category level, which then cascade to all articles within that category. This is handy for creating a “Members‑Only” section where only a specific group can publish.
At the article level, we can further refine who can view or edit a single piece of content. This fine‑grained control is useful for confidential documents that should be visible only to a select audience.
Remember to test changes in both the frontend and backend to verify that the intended users can access the content while others cannot.
For the official reference on user groups and permissions, the Joomla Documentation User Management portal remains the most authoritative source. The Joomla Programmers Documentation on User objects is useful for developers who want to work with users programmatically. We also recommend reviewing the Joomla ACL Tutorial for a deeper treatment of how permission inheritance works across groups and components.
Access levels act as filters that determine which groups can see a piece of content. The default levels are Public (any visitor), Registered (logged‑in users), and Special (selected groups).
Public content is visible to everyone, including search engine crawlers. Registered content requires a user to log in through the login module, often after passing a captcha or email activation step.
Special access is typically used for premium articles, internal documents, or member‑only forums, and it can be assigned to any combination of groups, such as Publisher and Manager.
When the default levels do not meet our needs, we can create custom access levels in the Access Levels manager. Click “New,” give it a name like “VIP Members,” and select the groups that should belong to it.
Custom levels enable us to segment content even further, for example, offering a “Beta Testers” area that only a small group can access. This flexibility supports marketing campaigns and exclusive releases.
After creating a level, we must assign it to the appropriate menu items, modules, or articles to make the restriction effective.
Mapping is the process of linking groups to access levels, essentially deciding who can see what. In the Access Levels manager, we check the boxes for each group that should have the level.
For instance, the “Special” level might include Publisher, Editor, and Manager groups, while a custom “VIP” level could include only a custom “VIP Member” group. This mapping creates a clear and predictable permission structure.
Always review the mapping after adding new groups to ensure no accidental exposure of private content.
Registration settings reside in Global Configuration under the User Options tab. Here we can enable or disable registration, require email activation, and set a captcha to deter bots.
We can also choose the default group for new registrants, typically “Registered.” For sites that need a “Member” group, we can assign that as the default instead.
Additional options include allowing users to edit their own profile, reset passwords, and enable multi‑factor authentication for added security.
Login and registration modules are placed on the frontend via the Module Manager. We select the appropriate module type, configure its layout, and assign it to a position on the template.
Modules can be restricted to specific access levels, ensuring that only guests see the login form while logged‑in users see a logout button. This contrast improves usability.
Remember to test the modules on both desktop and mobile devices to guarantee a smooth experience for all visitors.
Users can edit their profile from the frontend via the “My Account” page, which includes fields for email, password, and custom profile data. Administrators can also edit any profile from the backend User Manager.
Security settings such as password reset, email verification, and multi‑factor authentication are managed here. Enabling WebAuthn provides hardware‑based login options for added protection.
Regularly reviewing profile data helps keep the user database clean and reduces the risk of stale or compromised accounts.

Multi‑factor authentication (MFA) adds a second verification step, such as a one‑time code or a hardware token. Joomla supports MFA out of the box, and we can enable it in the Global Configuration.
WebAuthn takes MFA a step further by allowing users to log in with biometric devices or security keys. This method is resistant to phishing and provides a smooth experience for modern browsers.
Implementing MFA or WebAuthn is especially important for backend groups like Administrator and Super Administrator, where a compromised password could have severe consequences.
The User Actions Log records significant events such as logins, password changes, and permission updates. This log can be accessed from the System menu under “Log Viewer.”
Having an audit trail helps us identify suspicious activity, comply with security policies, and troubleshoot issues quickly. It is a vital component of any strong user management strategy.
We can filter the log by user, date, or action type to focus on specific incidents, making the investigation process efficient.
Strong password policies reduce the risk of unauthorized access. Joomla allows us to enforce minimum length, character complexity, and expiration periods.
In addition to password rules, we should enable captcha on registration and login forms, limit login attempts, and regularly review user permissions. These measures work together like a shield, protecting both frontend and backend.
Finally, keep Joomla and all extensions up to date, as security patches often address newly discovered vulnerabilities.
What is the difference between user groups and access levels in Joomla? User groups are collections of users that share the same permissions, while access levels determine which groups can view specific content. Groups define what a user can do; access levels define what a user can see.
How do I create a custom user group in Joomla? Go to Users → Groups, click “New,” name the group, and select a parent group to inherit permissions. After saving, assign the new group to users or map it to an access level.
Can I restrict backend access to specific users in Joomla? Yes, by assigning users to backend groups such as Manager or Administrator and configuring the ACL accordingly. Combine this with MFA or WebAuthn for added protection.
How do I enable user registration on my Joomla site? In Global Configuration, open the User Options tab and set “Allow User Registration” to Yes. Configure additional settings like email activation, captcha, and default user group.
What is the ACL system in Joomla and why does it matter? The Access Control List maps groups to permissions across the site, allowing fine‑grained control over actions. It matters because it lets us protect content and functions without creating countless individual accounts.
How do I set up multi‑factor authentication in Joomla? Enable MFA in Global Configuration under the Security tab, then choose the desired method (e.g., Google Authenticator). Users will be prompted to configure the second factor during login.