Physical Address
304 North Cardinal St.
Dorchester Center, MA 02124
Physical Address
304 North Cardinal St.
Dorchester Center, MA 02124
In this guide we explain how to install joomla on a fresh server, and we walk you through each step as if we were assembling a puzzle together. Joomla is a free, open‑source content management system that lets us build websites ranging from simple blogs to complex e‑commerce portals. By the end of this article you will have a live site, a solid understanding of the required environment, and a roadmap for future customizations.
We understand that the installation process can feel like navigating a maze, but with the right preparation the path becomes as clear as a sunrise over the ocean. This tutorial covers everything from system requirements to post‑installation tweaks, and it includes ready‑to‑copy code snippets for database creation, file permissions, and Docker deployment. Let’s set the stage and get our tools ready.
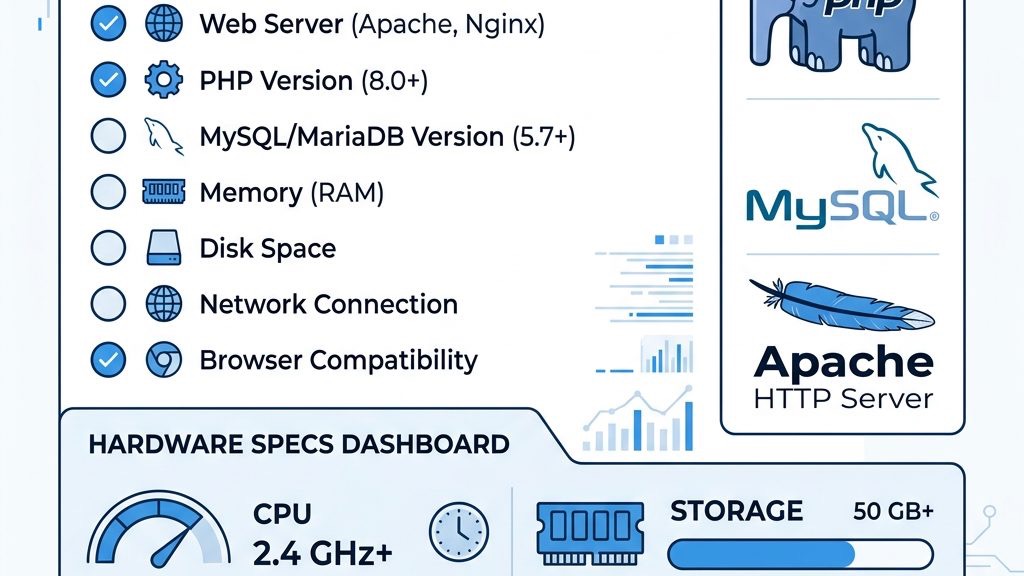
Joomla 5, the latest major release, requires at least PHP 8.0 and MySQL 5.7 (or MariaDB 10.2). These versions provide the performance and security features that keep the site running smoothly. We recommend checking the PHP version with php -v and the MySQL version with mysql -V before proceeding.
The PHP configuration must have extensions such as mysqli, json, xml, and gd enabled. Without these, Joomla cannot process database queries, handle JSON data, or generate thumbnails. You can enable extensions in the php.ini file by uncommenting lines like extension=mysqli.
If you are on a shared host, the control panel often displays the current versions. In case the versions are outdated, you may need to request an upgrade from your hosting provider or switch to a newer environment. Keeping the software up‑to‑date is like polishing a mirror; it reflects a cleaner, more reliable site.
Joomla works with Apache, Nginx, and IIS, but each server has its own quirks. Apache is the most common choice because it supports .htaccess files, which Joomla uses for URL rewriting and security rules. Nginx requires a separate configuration block to emulate the same behavior.
For Apache, we typically enable the mod_rewrite module to allow clean URLs. In Nginx, the equivalent is a location block that forwards requests to index.php. IIS users must install the URL Rewrite module to achieve similar results. Think of the web server as the foundation of a house; without a solid base, the walls cannot stand.
We also need to ensure that the server allows file uploads up to at least 10 MB, which is the default limit for Joomla extensions. Adjusting upload_max_filesize and post_max_size in php.ini prevents upload errors later on. A well‑configured server is like a well‑tuned instrument, ready to play any melody we compose.
While the minimum requirements get Joomla up and running, a smoother experience comes from a more generous hosting plan. We suggest at least 2 GB RAM, 2 CPU cores, and 20 GB SSD storage for a modest site with moderate traffic. These resources help the CMS handle simultaneous requests without stalling.
A Linux environment (Ubuntu, CentOS, Debian) is preferred because most Joomla documentation assumes a Unix‑like system. If you are on Windows, you can still install Joomla using XAMPP or Docker, but the performance may differ. Choosing a reputable hosting provider with good support can save you countless hours of troubleshooting.
Finally, enable HTTPS with a valid SSL certificate. Joomla includes a built‑in option to force HTTPS, protecting data in transit. Secure connections are the digital equivalent of a locked door, keeping unwanted guests out.
Before we upload any files, we need a clean MySQL database for Joomla to store its content. Using the command line gives us full control and avoids the pitfalls of graphical tools. Below is a typical sequence:
# Log in to MySQL as root
mysql -u root -p

# Inside the MySQL prompt
CREATE DATABASE joomla_db CHARACTER SET utf8mb4 COLLATE utf8mb4_unicode_ci;
CREATE USER 'joomla_user'@'localhost' IDENTIFIED BY 'StrongPassword123!';
GRANT ALL PRIVILEGES ON joomla_db.* TO 'joomla_user'@'localhost';
FLUSH PRIVILEGES;
EXIT;
The database name, user, and password should be stored safely; we will need them during the installation wizard. Using a dedicated user limits the damage if the site is ever compromised. Think of the database as a vault, and the user as the key holder.
If your host provides phpMyAdmin, you can perform the same steps through the web interface, but the command line is faster and less prone to UI errors. After creating the database, verify the connection with a simple test query. A successful connection is the green light before we move forward.
Joomla relies on several PHP settings to function correctly. We must edit the php.ini file, which is usually located at /etc/php/8.0/apache2/php.ini on Ubuntu. The following snippet highlights the most important directives:
memory_limit = 256M
upload_max_filesize = 20M
post_max_size = 20M
max_execution_time = 120
date.timezone = "UTC"
extension=mysqli
extension=json
extension=gd
Increasing memory_limit prevents out‑of‑memory errors during large content imports. The upload_max_filesize and post_max_size values should be higher than the size of any extensions you plan to install. Setting the correct date.timezone ensures that timestamps are accurate across the site.
After editing, restart the web server (systemctl restart apache2 or systemctl restart php-fpm). We can confirm the changes by creating a phpinfo.php file and browsing to it. A well‑tuned PHP environment is like a well‑oiled engine, ready to power the site smoothly.
Security and functionality hinge on proper file permissions. Joomla needs to write to certain directories (e.g., logs, tmp) while keeping the core files read‑only. We can set the permissions using chmod and ownership with chown.
# Set ownership to the web server user (www-data on Ubuntu)
sudo chown -R www-data:www-data /var/www/html/joomla

# Set directory permissions to 755 and file permissions to 644
find /var/www/html/joomla -type d -exec chmod 755 {} \;
find /var/www/html/joomla -type f -exec chmod 644 {} \;

# Make the configuration.php file writable during installation
chmod 664 /var/www/html/joomla/configuration.php
The 755 permission allows the server to read and execute directories, while 644 lets it read files. Making configuration.php temporarily writable enables Joomla to write its initial settings. After installation, we should revert configuration.php to 644 for security.
Incorrect permissions are a common source of “Forbidden” errors, which can halt the installation process. By setting them correctly, we keep the site both functional and safe, like a well‑guarded fortress.
The safest way to obtain Joomla is to download the latest stable package from the official site (https://downloads.joomla.org). We should verify the SHA‑256 checksum to ensure the file has not been tampered with. The checksum can be compared using the sha256sum command:
sha256sum Joomla_5.0.0-Stable-Full_Package.zip
# Compare the output with the checksum listed on the download page
Downloading the full package gives us both the core files and the sample data, which can be useful for testing. We keep the ZIP file on our local machine until we are ready to upload it to the server. Think of the download as gathering the bricks before building a house.
If you prefer a command‑line approach, you can use wget or curl directly on the server:
wget https://downloads.joomla.org/cms/joomla5/5-0-0/Joomla_5.0.0-Stable-Full_Package.zipAfter the download, we will extract the archive in the next step. Keeping the original ZIP file can serve as a backup in case we need to reinstall.
To move the Joomla files to the web server, we can use FTP, SFTP, or the hosting control panel’s File Manager. FTP clients like FileZilla make drag‑and‑drop transfers straightforward. We connect using the server’s hostname, username, and password, then navigate to the public_html or www directory.
If the host offers a cPanel File Manager, we can upload the ZIP file directly and then extract it on the server, which saves bandwidth. The extraction step is performed by selecting the file and choosing “Extract”. This method is akin to unpacking a suitcase right where you need it.
During upload, we should keep an eye on the transfer speed and any timeout messages. Large files may need to be split or uploaded in chunks. A successful upload is the bridge that brings the raw Joomla code into our hosting environment.
Once the ZIP file is on the server, we extract it using the unzip command:
cd /var/www/html
unzip Joomla_5.0.0-Stable-Full_Package.zip -d joomla
The -d joomla flag creates a new directory named joomla and places all files inside. After extraction, we should verify that the index.php file resides at the root of the new folder. If the extraction fails due to missing unzip, we can install it with apt-get install unzip.
We also need to remove the ZIP file after extraction to free up space and reduce the attack surface. The final directory structure should look like:
/var/www/html/joomla/
├── administrator/
├── cache/
├── cli/
├── components/
├── images/
├── installation/
├── language/
├── libraries/
├── logs/
├── modules/
├── plugins/
├── templates/
├── tmp/
├── configuration.php (not yet created)
└── index.php
Having the files correctly placed is the foundation for the upcoming installation wizard.
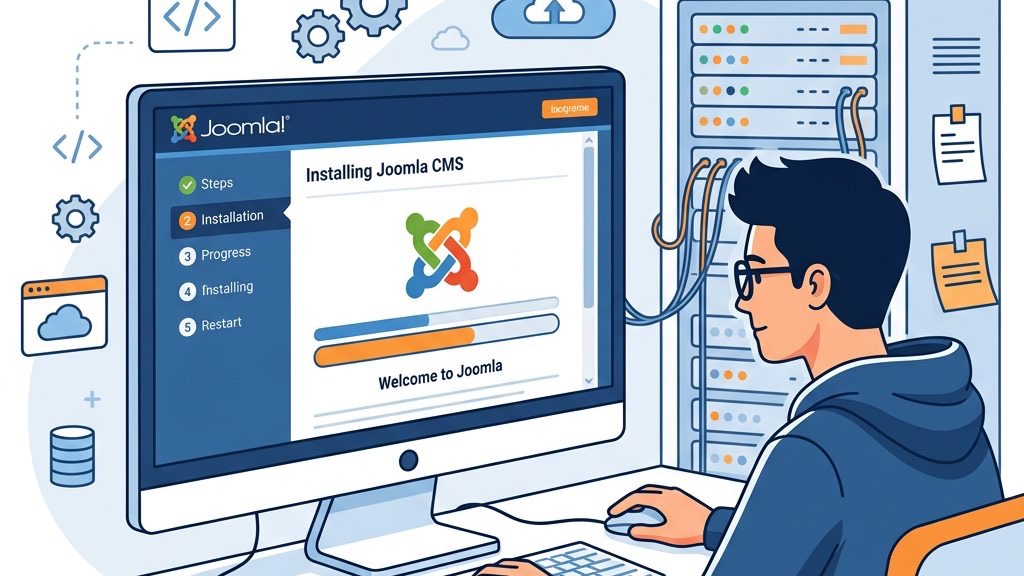
When we navigate to http://yourdomain.com/joomla/installation, the installation wizard greets us with a series of tabs. The first tab, Configuration, asks for the Site Name, Description, and Admin Email. We should choose a memorable site name, as it appears in the browser title and search results.
The admin username and password are critical; we recommend a strong password with a mix of letters, numbers, and symbols. Joomla stores the password using a salted hash, which is far more secure than plain text. Think of the admin account as the master key to the entire website.
We also select the default language for the site, which determines the language of the back‑end interface. If we plan to run a multilingual site, we can add additional language packs later. After filling out the fields, we click Next to proceed to the database configuration.
The Database tab requires the Database Type (MySQLi), Host, Username, Password, and Database Name we created earlier. We also set the Table Prefix, which defaults to jos_. Changing the prefix can add a layer of obscurity against automated attacks.
We test the connection using the Test Database button. If the test succeeds, Joomla can communicate with the MySQL server and will create the necessary tables. If it fails, we double‑check the credentials, host name (often localhost), and that the MySQL service is running.
Additional options include Database Port (default 3306) and Database Driver. For advanced setups, we might use a remote database server, but that requires opening the appropriate firewall ports. Once the connection is verified, we move to the final step.
The Finalisation tab presents a summary of our choices and a Install button. Clicking it triggers Joomla to write the configuration.php file, create database tables, and set up default content. The process typically takes a few seconds, depending on server speed.
After installation, we are prompted to remove the installation folder for security reasons. Joomla provides a button that automatically deletes the folder, but we can also do it manually via FTP or the command line:
rm -rf /var/www/html/joomla/installationFinally, we log in to the admin panel at http://yourdomain.com/joomla/administrator using the credentials we set earlier. The dashboard greets us with a clean slate, ready for content creation. The installation wizard is like a compass that points us toward the next adventure: building the site.
Leaving the installation directory on a live site is a security risk, as it could be exploited to re‑run the setup. We must delete it immediately after the wizard finishes. The automatic removal button works in most cases, but a manual check ensures completeness.
# Manual removal
sudo rm -rf /var/www/html/joomla/installation
After deletion, we verify that the folder no longer exists by listing the directory contents. This step is akin to locking the gate after the construction crew has left the site. A clean environment reduces the attack surface dramatically.
In the Global Configuration panel, we adjust site‑wide options such as SEO settings, caching, and error reporting. Enabling SEF URLs (Search Engine Friendly) makes the site’s links more readable for both users and search engines. We also set the Live Site URL if Joomla does not detect it automatically.
Caching can be turned on to improve performance, especially for high‑traffic sites. We choose File or Memcached based on our server’s capabilities. Error reporting should be set to None on production to avoid exposing sensitive information, while Development mode is useful during testing.
Finally, we configure the Mail Settings so that Joomla can send password resets and contact form submissions. Using an SMTP server (e.g., Gmail, SendGrid) ensures reliable delivery. Proper global settings are the scaffolding that supports the entire website.
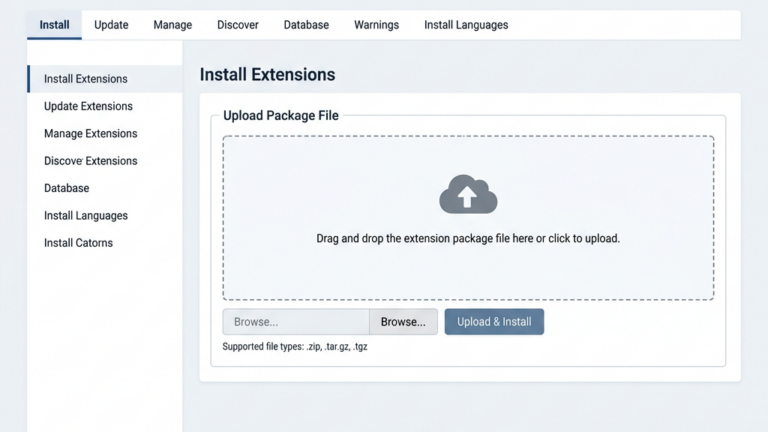
Joomla’s power lies in its extensibility. We begin by installing a template that defines the site’s visual layout. Popular free templates include Helix3 and Protostar, while premium options offer more customization. Installing a template is as simple as uploading a ZIP file through the Extension Manager.
Next, we add essential extensions such as Akeeba Backup for site backups, JCE Editor for rich text editing, and Joomla! SEO for advanced optimization. Each extension comes with its own configuration page, which we adjust to match our site’s needs.
We also consider installing a security extension like Admin Tools to harden the site against common threats. Regularly updating extensions is crucial to keep the site safe. Think of extensions as the furniture and appliances that make a house livable.
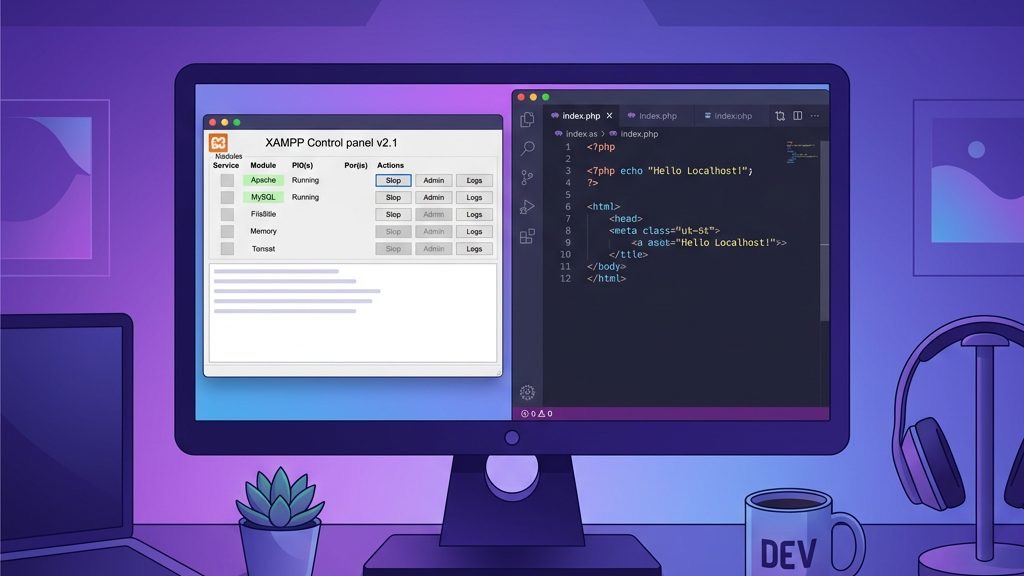
For Windows developers, XAMPP offers an all‑in‑one package that includes Apache, MySQL, PHP, and phpMyAdmin. After downloading and installing XAMPP, we start the Apache and MySQL modules from the control panel. The default ports are 80 for HTTP and 3306 for MySQL.
We then place the Joomla folder inside C:\xampp\htdocs\joomla. Using the XAMPP File Manager, we can extract the ZIP file directly into this directory. The local URL becomes http://localhost/joomla. This environment mirrors a live server, allowing us to test changes safely.
If we need to adjust PHP settings, we edit C:\xampp\php\php.ini and restart Apache. Common tweaks include increasing upload_max_filesize and setting the correct timezone. A local XAMPP setup is like a sandbox where we can experiment without affecting real users.
macOS users often choose MAMP, which bundles Apache, MySQL, and PHP in a single installer. After installing MAMP, we launch the MAMP application and start the servers. The default web root is /Applications/MAMP/htdocs.
We copy the Joomla files into a new folder, e.g., /Applications/MAMP/htdocs/joomla. The site is reachable at http://localhost:8888/joomla (MAMP uses port 8888 by default). We can change the port in MAMP preferences if needed.
MAMP includes a phpMyAdmin interface at http://localhost:8888/phpmyadmin. Here we create the database and user just as we would on a remote host. The local environment lets us test extensions, templates, and custom code before deploying to production. It’s a rehearsal stage, like a theater backstage where actors perfect their lines.
Docker provides an isolated, reproducible environment that works on any operating system. We can spin up a Joomla container together with a MySQL container using a single docker-compose.yml file:
version: '3.8'

services:
  joomla:
    image: joomla:5.0
    ports:
      - "8080:80"
    environment:
      JOOMLA_DB_HOST: db
      JOOMLA_DB_USER: joomla_user
      JOOMLA_DB_PASSWORD: StrongPassword123!
      JOOMLA_DB_NAME: joomla_db
    volumes:
      - joomla_data:/var/www/html

  db:
    image: mysql:8.0
    environment:
      MYSQL_ROOT_PASSWORD: RootPass123!
      MYSQL_DATABASE: joomla_db
      MYSQL_USER: joomla_user
      MYSQL_PASSWORD: StrongPassword123!
    volumes:
      - db_data:/var/lib/mysql

volumes:
  joomla_data:
  db_data:
Running docker-compose up -d launches both containers, and the Joomla site becomes available at http://localhost:8080. The volumes ensure data persists across container restarts. Docker isolates the environment, making it easy to replicate the same setup on another machine. It’s like building a miniature model of the site that can be moved anywhere.
After the containers are up, we navigate to the installation wizard and follow the same steps as on a traditional server. Docker simplifies dependency management, allowing us to focus on content rather than configuration. Once satisfied, we can push the same configuration to a production server.

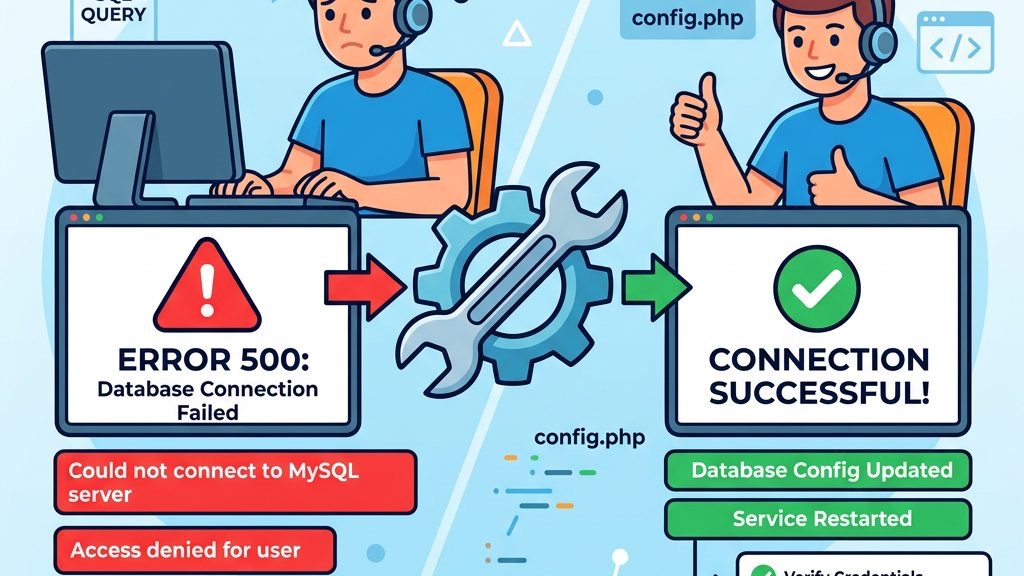
A frequent stumbling block is the database connection error that appears when the credentials are incorrect or the MySQL service is not reachable. We double‑check the hostname (often localhost), username, password, and database name. If the MySQL server runs on a non‑standard port, we must specify it in the Host field (e.g., localhost:3307).
Another cause can be the MySQL client library missing from PHP. We verify that the mysqli extension is enabled in php.ini. Restarting the web server after enabling the extension often resolves the issue. Think of the database connection as a bridge; if any pillar is missing, the bridge collapses.
If the error persists, we consult the server’s error log (/var/log/apache2/error.log or the PHP error log) for detailed messages. The log may reveal permission problems or socket issues. Fixing the underlying cause restores the flow of data between Joomla and the database.
When Joomla cannot write to the tmp or logs directories, the installer halts with a permission error. We ensure that the web server user (e.g., www-data) owns the Joomla directory and that the permissions are set correctly, as shown earlier with chmod and chown.
Sometimes the hosting provider disables chmod for security reasons; in that case, we may need to request the correct permissions through the control panel. Using cPanel’s File Manager, we can set the permissions manually. Incorrect permissions are like a locked door that prevents the installer from entering.
If we still encounter errors, we verify that the configuration.php file is writable during installation and becomes read‑only afterward. The chmod 664 command temporarily grants write access. Once the installation finishes, we revert to chmod 644 for security.
Joomla checks for required PHP extensions during the pre‑flight check. Missing extensions such as intl, mbstring, or xml cause the installer to stop and display an error message. We install the needed extensions using the package manager:
# On Ubuntu/Debian
sudo apt-get install php-intl php-mbstring php-xml
sudo systemctl restart apache2
After installing, we confirm the extensions are loaded by creating a phpinfo.php file and searching for the extension names. If the extension still does not appear, we may need to enable it in php.ini by uncommenting the corresponding line.
Keeping PHP extensions up‑to‑date is essential for security and performance. Missing extensions are like missing gears in a clock; the whole mechanism stalls. Once all required extensions are present, the installer proceeds smoothly.
How to install Joomla step by step?
We walk through system requirements, database creation, file upload, the installation wizard, and post‑installation tasks. Each stage is detailed with code snippets and best‑practice tips.
How to install Joomla in Windows?
Use XAMPP or WAMP to set up Apache, MySQL, and PHP, then place the Joomla files in the web root and run the installer via http://localhost/joomla. The process mirrors a Linux installation but uses Windows‑specific tools.
Is Joomla free?
Yes, Joomla is an open‑source CMS released under the GPL license, which means you can download, use, and modify it at no cost. The community provides free extensions and templates, though premium options are also available.
What are the disadvantages of Joomla?
Some users find the learning curve steeper than simpler platforms, and certain extensions may not be as abundant as those for competing CMSs. Additionally, performance can degrade on very large sites without proper caching and optimization.
How long does it take to install Joomla?
For an experienced developer, the core installation takes 10–15 minutes, assuming the server meets the requirements. Adding extensions, configuring settings, and testing may extend the process to an hour or more.
Can I run Joomla on Docker?
Absolutely. A Docker Compose file can spin up Joomla together with MySQL, providing an isolated environment that mirrors production. This approach simplifies dependency management and makes scaling easier.
Where can I find Joomla documentation?
The official Joomla Documentation site (docs.joomla.org) offers comprehensive guides, API references, and community forums. It’s a valuable resource for both beginners and advanced users.
Is Joomla suitable for e‑commerce?
Yes, extensions like VirtueMart and HikaShop turn Joomla into a full‑featured online store, supporting product catalogs, payment gateways, and shipping options.
How do I secure a Joomla site?
Enable HTTPS, keep Joomla and extensions up‑to‑date, use strong admin passwords, and install security extensions such as Admin Tools. Regular backups with Akeeba Backup also protect against data loss.
Can I migrate from another CMS to Joomla?
Migration tools exist for WordPress, Drupal, and other platforms. They typically import content, users, and media, after which you may need to adjust templates and extensions.
Conclusion
We have walked through every stage of how to install joomla, from checking system requirements to fine‑tuning the live site. By following this step‑by‑step guide, you can launch a secure, performant Joomla installation on any hosting environment, whether it’s a remote server, a local XAMPP stack, or a Docker container. The journey doesn’t end at installation—regular updates, backups, and extensions keep the site thriving. Now that the foundation is laid, let’s start creating compelling content and explore the endless possibilities Joomla offers. Your website awaits; let’s build it together.