Physical Address
304 North Cardinal St.
Dorchester Center, MA 02124
Physical Address
304 North Cardinal St.
Dorchester Center, MA 02124
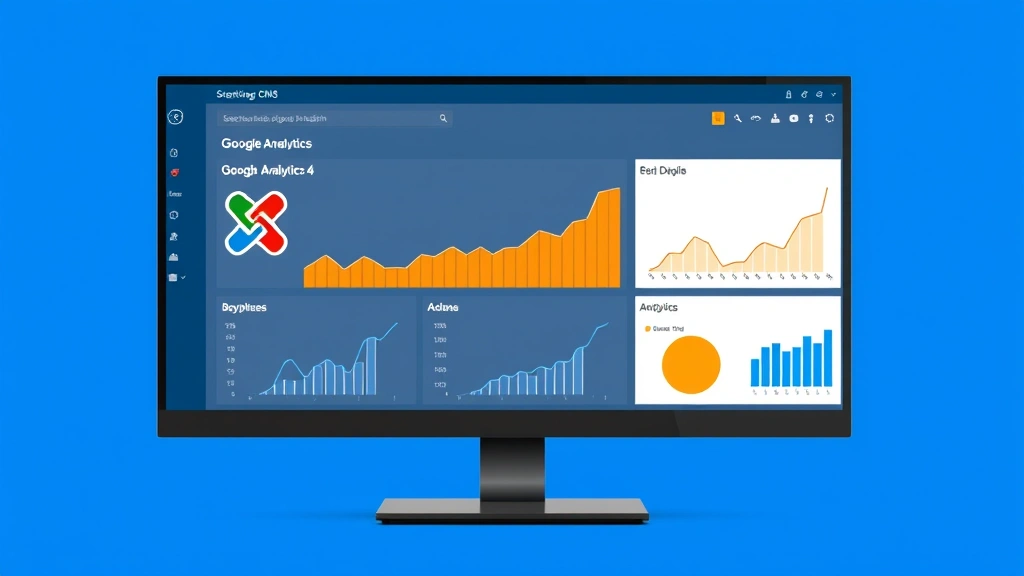
When we set up joomla google analytics on our site, we instantly gain a window into user behavior. The data we collect becomes the compass that guides every design and content decision.
Key Takeaways
We start by asking the simple question: who is visiting our site? GA4 answers this with a detailed portrait of each visitor, from the device they use to the country they call home. By examining the user acquisition reports, we can see whether organic search, social referrals, or direct traffic bring the most engaged users. This insight is like a lighthouse, steering us away from dead‑end marketing tactics and toward channels that truly resonate.
Beyond the headline numbers, GA4’s event tracking lets us capture interactions that traditional page‑view metrics miss—clicks on a download button, video plays, or form submissions. When we map these events onto the visitor flow, patterns emerge that feel like a puzzle falling into place. The more we understand how users move through our Joomla pages, the better we can tailor content to keep them longer and reduce the bounce rate.
Every article, product page, or blog post on our Joomla site has a story to tell, but not all stories are equally compelling. GA4’s page views and average session duration metrics act as a report card for each piece of content. By comparing these figures across the site, we can identify which topics act as magnets and which fall flat. Think of it as a garden: the thriving plants receive the most sunlight, while the wilted ones need pruning or a different location.
The conversion tracking feature adds another layer of depth. When we set up goals—such as newsletter sign‑ups or e‑commerce purchases—we can see which pages act as the final push toward conversion. This data-driven feedback loop allows us to prioritize high‑performing content, much like a chef focusing on the most popular dishes on a menu.
Conversions are the ultimate proof that our Joomla site is delivering value. GA4 lets us define conversion events that align with our business objectives, whether that’s a completed contact form, a download, or a purchase. By linking these events to specific traffic sources, we can pinpoint which campaigns generate the highest return on investment.
The real‑time reports are especially useful during a product launch or a promotional push. As visitors interact with the site, we see the numbers update instantly, giving us the ability to tweak messaging on the fly. This immediacy feels like having a live dashboard on a race car, where every second counts.
We begin by heading to the Google Analytics homepage and clicking “Start measuring.” The sign‑up process is straightforward: we enter our Google account, accept the terms, and click “Create.” At this stage, we are essentially planting a seed that will later grow into a rich data forest.
After the account is created, we are prompted to set up a property. This is where we tell GA4 what kind of data we want to collect. We select “Web” as the platform, give the property a descriptive name (e.g., “My Joomla Site”), and choose the appropriate time zone and currency. These settings act like the foundation of a house—if they’re off, everything built on top will be misaligned.
Once the property is in place, GA4 guides us through the creation of a data stream. We select “Web” again and enter the URL of our Joomla site. The system then generates a measurement ID that looks like G-XXXXXXXXXX. This ID is the secret handshake between our site and GA4, allowing the two to speak without interference.
In the configuration panel, we can enable IP anonymization to protect visitor privacy and toggle enhanced measurement for automatic event capture (scrolls, outbound clicks, etc.). These options are akin to adjusting the lenses on a camera—fine‑tuning what we see while respecting the subject’s privacy.
The measurement ID is displayed prominently on the data‑stream page, and we copy it to our clipboard. It is the single line of code that will later be embedded in our Joomla template or a custom HTML module. Think of it as the key that unlocks the gate to our analytics garden.
For those who prefer a more centralized approach, we can also set up Google Tag Manager (GTM) and create a GA4 tag that references the same measurement ID. GTM offers a flexible way to manage multiple tags without editing the code directly. The following external link provides a quick reference: Google Tag Manager Docs.
| Step | Action | Result |
|——|——–|——–|
| 1 | Create GA4 account | Access to Google Analytics dashboard |
| 2 | Add a Web property | Dedicated property for Joomla site |
| 3 | Set up a data stream | Generates measurement ID |
| 4 | Enable IP anonymization | Improves privacy compliance |
| 5 | Copy measurement ID | Ready for insertion into Joomla |
We start by logging into the Joomla administrator panel and heading to Extensions → Templates → Templates. From the list, we select the active template—often named “protostar” or a custom design—and click “Edit.” This opens the file manager where we can locate index.php, the backbone of every page rendered by Joomla.
If the site uses a child template or overrides, we make sure we are editing the correct index.php that outputs the section. Editing the wrong file would be like painting a portrait on a wall that no one ever sees—our tracking code would remain invisible to visitors and to GA4.
Within index.php, we scroll to the closing tag. Just before this tag, we paste the GA4 tracking code snippet that Google provides. The snippet looks like this:
We replace G-XXXXXXXXXX with our actual measurement ID. The anonymize_ip flag ensures we respect visitor privacy, a small but vital detail that keeps us on the right side of regulations. After saving the file, the tracking code is now part of every page’s section, ready to fire whenever a visitor loads a page.
Testing is the final, essential step. We open a new incognito window and go to our Joomla site, then check the real‑time reports in GA4. If the page view appears instantly, the code is functioning correctly. For a more granular check, we can use the Google Tag Assistant Chrome extension, which highlights any errors in the tag deployment.
If we notice that no data is arriving, we double‑check that the measurement ID matches exactly and that the script is placed before the closing tag. Common pitfalls include missing the async attribute or having duplicate tags, which can cause data to be filtered out. A systematic approach to testing ensures that our analytics foundation is solid before we move on to deeper insights.

After completing the manual template method, you may also want to explore other Joomla‑specific resources that complement our analytics setup:
These links provide additional context on how analytics data can inform SEO, performance, and security strategies across our Joomla ecosystem.
We often start with the simplest route: a custom HTML module that injects the GA4 snippet into the site’s head. First, we create a new module from the Joomla administrator, select Custom HTML, and paste the script that Google gave us when we created the property. The module should be assigned to the position‑head (or any position that appears in the of every page) and set to All Pages so the code runs everywhere.
Because the module lives outside the template files, we can change the tracking ID later without touching the theme. This flexibility is handy when we move the site to a new domain or switch to a different GA4 property. After saving, we clear the Joomla cache and verify that the script appears in the page source.
If we want to keep the site tidy, we can enable the “Prepare Content” option and wrap the script in a